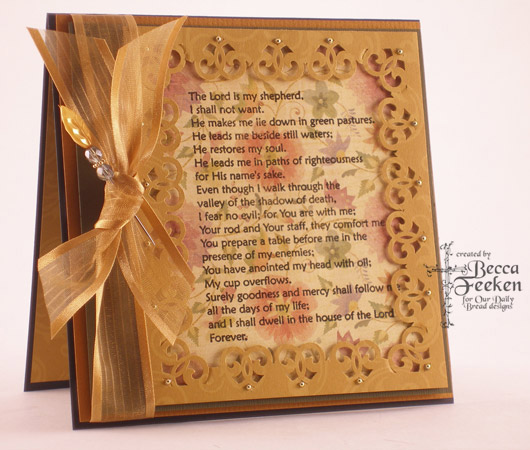
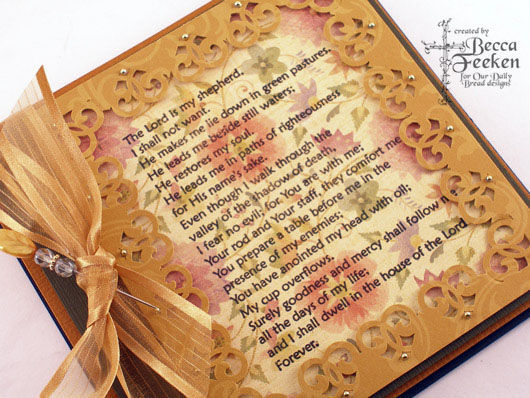
I’m back with a twist on the Circle Medallion tutorial that I put out some time ago. I guess it never occurred to me that it would be just as easy to make it with a square or rectangle. If you’re tired of going around in circles, here’s another frame type to add to your bag of tricks. Here’s the card I made to test the theory.


It’s as simple as making the Circle medallion! My sentiment is large so the frame takes up the whole card, but you can make it as small as you like. The sentiment I’m using here is one of the newly released stamps from Our Daily Breads Designs and the stamp is Psalm 23. Because the verse has a strong bold font, it can be used in so many different situations and still seen clearly like my in sample above which is stamped onto design paper.


Recipe:
Stamps: Our Daily Bread Designs – Psalm 23
Paper: Bazzill, K & Co
Ink: Adirondack Pitch Black with clear embossing powder
Accessories: Corner Rounder Punch, gold pearls, pin, beads, ribbon
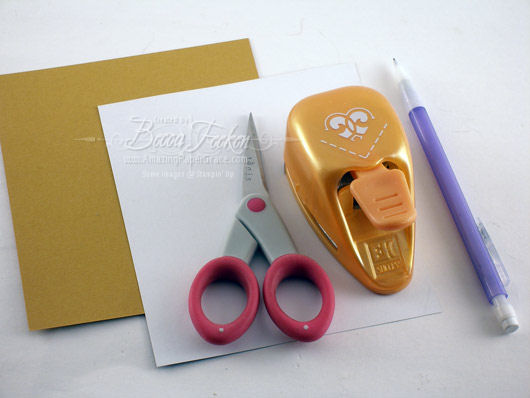
Okay, on to the tutorial, here are the supplies you’ll need:
Step 1: You’ll need a corner punch, a pencil, scissors, and two identically sized rectangular pieces of paper.


Step 2: Fold the paper into quarters.


Step 3: Fold paper diagonally, both ways. This will be your template for drawing lines.


Step 4: Lay your template down on the paper you will be using as a frame. Using each crease as a guideline, take your pencil and mark each of the four lines onto the back of your frame.


This is what the back of your frame should look like after you’ve transferred the markings.


Step 5: Punch the corners and the center region of each side symmetrically. Please note that punches are sized differently and your rectangle will be a different size from my rectangle.


You may have to play around with this to find the best way the punches will fit. Finish off by punching out where you have remaining gaps.


It the center doesn’t fall out on it’s own, simply take the scissors and trim any connecting points. The result will look like this:


Your frame is now ready for any embellishment you desire and can be added to your card!!
I hope you enjoyed this new tutorial! Get adventurous – try any rectangle or square you like!


Thanks Becca…adding to my reader now…. :)
hugs, Jami
Becca,
Thanks for the info ;-)
~~Diane~~
Love the new site and the blog, I’ve subscribed, thanks so much for linking them Becca.
Thanks so much for the heads up on the Spellbinders literature.
Will make good reading tonight after work
I love my nesties, especially with Christmas coming so soon.
Keep the cards and ideas coming. Again, I love and admire your work
Peggy
Nova Scotia
Canada
Hi Becca! Thanks for the heads up regarding Spellbinders’ blog.